Keeping trophies from your game hunting is something most hunters enjoy doing. Some hunters get the full taxidermy treatment and have hides and heads preserved with an authentic-looking mount.
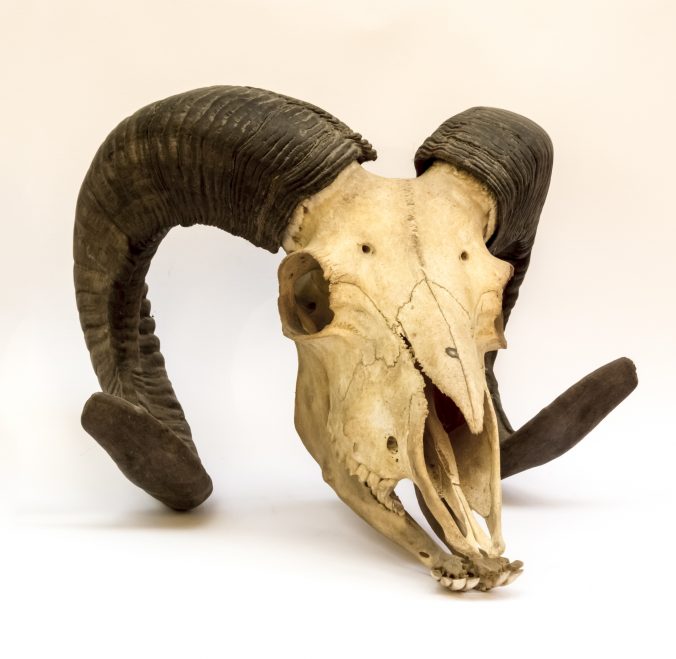
Other hunters enjoy creating skull mounts that showcase the skull and antlers of their game. Skull mounts are quite popular because they are the perfect DIY taxidermy project.
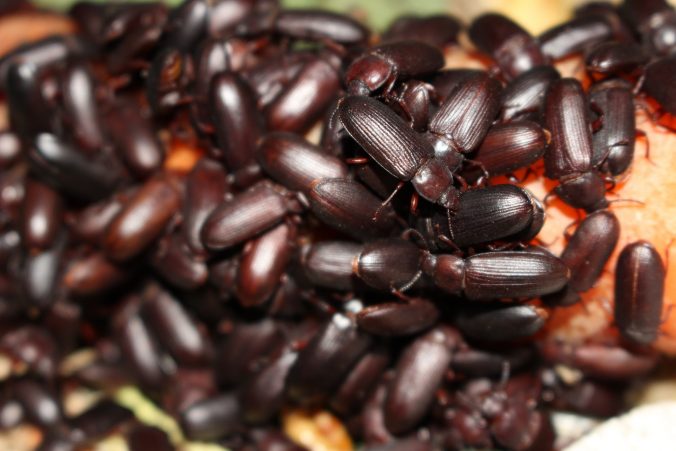
Whether you prefer getting the full taxidermy treatment or skull mounts, the best way to preserve skulls and bone structures of game is by using a dermestid beetle colony. Establishing a colony is not that difficult and can be a fun experience if you have ever wanted to try taxidermy.
Step 1: Find a reputable supplier of dermestid beetles for sale.
To get started, you will need to find a supplier that offers dermestid beetles for sale. It is important to choose a supplier that can verify its colonies are 100% healthy and do not have any other pests, mites, or fly larvae in the colony. These insects can wipe out the beetle colony.
Step 2: Create the perfect housing environment for your beetles before you order.
Your beetles will need a place to live. You can use a glass or acrylic aquarium tank or other secure types of containers that will keep the beetles contained. You will also need shredded paper or wood shavings to put on the bottom of the tank.
You will also want Styrofoam or foam cubes to place over the base layer. On top of the Styrofoam, you will want to place several sponges. You need to get a reptile heater or another type of heating device that does not emit light.
Additionally, you will want a temperature gauge attached inside the tank. The temperature strips are sufficient. Last, you will want a screen for the top of the tank to keep your beetles contained.
Step 3: Set up your beetle housing.
Prepare your beetle housing in anticipation of the dermestid beetles you ordered. This species of beetles thrives in temperatures between 650F and 850F. However, you want to keep the temperature below 800F to prevent the beetles from flying.
Step 4: Receiving your beetles and dermestid beetles’ care.
When you receive your beetles, they will arrive packed in frass, which consists of broken-down materials like those you have in your tank. You will want to carefully pour the entire contents of the packaging into your housing. The frass will contain beetle eggs, so you don’t want to throw it away.
You will need to feed your beetles. They thrive well on fish scraps and meat scraps when they are not eating away the flesh of skulls and bones. The scraps can be slightly dry. Your beetles also need water. Spray room-temperature water onto the sponges in the tank. You can also wet a paper towel and place it in the tank.
Step 5: Grow your dermestid beetle colony.
To get started cleaning skulls and bones of the game animals you want preserved, you need an established colony of around 300 beetles. Keep in mind, this is a small number, so cleaning a deer, ram, or elk skull can take a few weeks.
Yet, providing this food source will allow your colony to continue to grow. When you reach around 1,000 or more beetles, they will be able to tackle cleaning jobs more efficiently and faster.
As a beginner, we understand you will have questions about ordering and caring for your dermestid beetle colony. Do not hesitate to contact us at 907-942-2487 today! We are happy to answer all of your questions pre-order and provide ongoing support post-order.